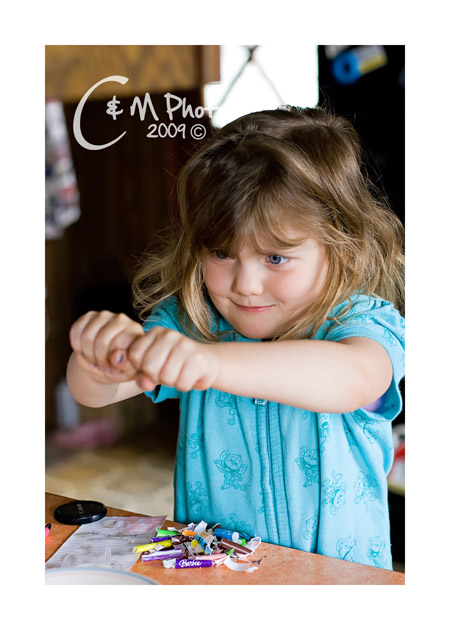
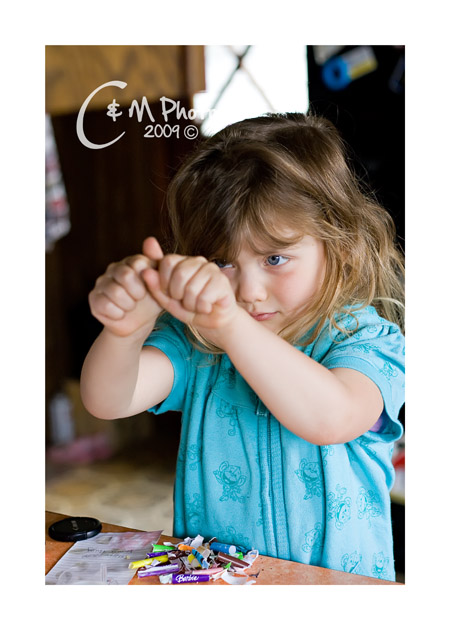
Feeling a bit crafty last recently, I decided to do something with some broken crayons of Sugar's. These were some cheap crayons that came with a little art set. The first few broke right away, then Sugar helped the others along. She was three, and loved the sound of them CRACKING. Who could blame her? After asking permission, she enjoyed thoroughly the breaking.
That was over a year ago, and these broken crayons have sat unused in a little container. I ran across them while helping Sugar straighten up her room, and decided to have a bit of fun. We gathered some supplies, and started in.
As you can see, we had the crayons, some foil, and a metal heart cookie cutter. The first thing needing to be done was MORE breaking. This fell upon the delightful ears of the Sugar, and she got busy. This was by FAR her favorite part, even though sometimes is was hard work.
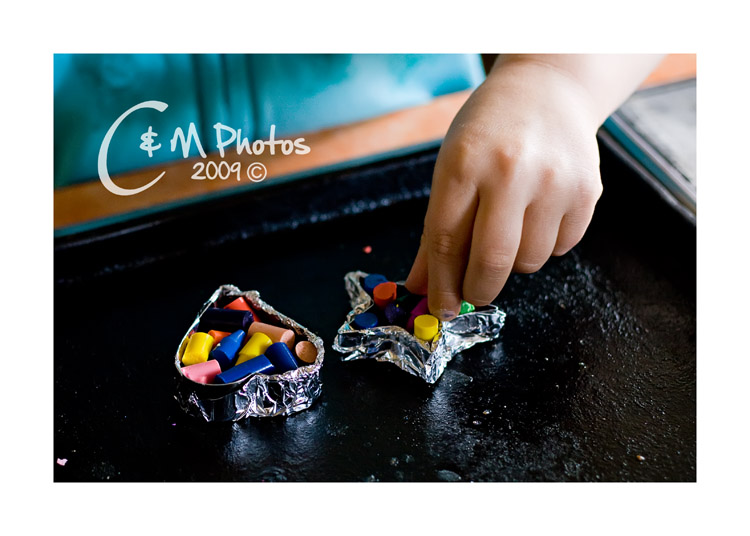
Sugar carefully unwrapped each crayon, then actively broke them into tiny pieces. While I set about using foil to line the bottom and outside of the heart.
We actually did a star as well, but it had disastrous results fairly quickly, and I don't recommend it. Sugar slowly placed the broken crayons into the molds one by one......by one.
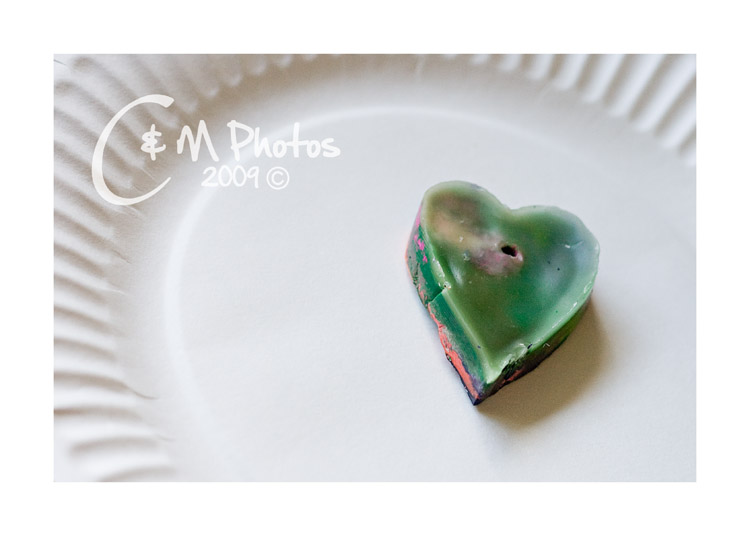
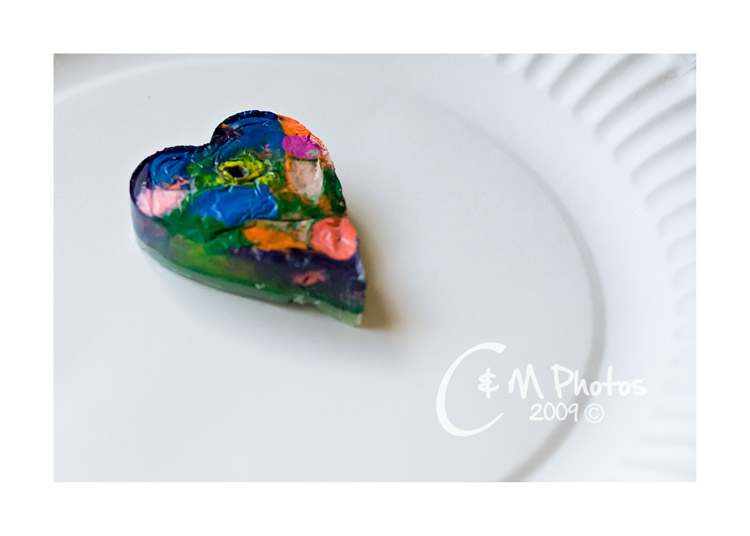
The molds, which were placed on an OLD cookie sheet, were placed in a 300 degree oven for about 8 minutes. I kept a good eye on them, and made sure that while they were melted, the wax did not bubble. Once cooled for several minutes I removed the mold from the hot pan, so it would cool faster. When it appeared to be fairly firm, I took a toothpick and made a nice hole near the top.
Then, because I didn't really do this right, I carefully used a knife to carve it out of the mold. This worked okay, but wasn't ideal. I was pretty surprised that the wax stuck to the metal. I had thought it would just pop out. NOT SO. I found it interesting how the wax separated. The top layer is all clear.
When it was completely hardened, I strung it on some yarn, to make a nice little coloring necklace for Sugar. She likes to draw with the clear part, then rub over it with the colored part to show what she drew. I need to get some pictures of her artwork.
Anyhoo....My technique was messy, and didn't work so hot. Here are some links to some better ideas:
May pretty, crayon necklaces be in YOUR future.






9 Live It or Love It:
Oh what a very good idea! I must tell Stacey about this and she can try it with the girls when she au pairs this week-end! Thank you for sharing your creativity! x
Sugar is going to have the most wonderful memories of growing up with you as her mommy..,.what a lucky girl she is.
Enjoyed this post and love the end result, never thought of doing that with broken crayons...hate mess so would have avoided it...but you have shown me that mess to me is fun for the children. Thanks for that.
oh my! this is so cool! thanks for posting!!
Most of my ideas are messy and don't work that hot. It isn't the project, it is the process that is cherished.
YOu are a genius! I am going to start saving all of Emma's broken crayons!!!!!!!
Oh wow that is so very clever!
I have a ziplock baggy full of broken crayons that I've been intending to do this with!! Mayeb this will push me to actually do it. So cool how the colors seperated!
What a fun idea, I bet sugar will remember this for her own children.
Squeaky and I did this for her valentines this year. We used a silcone pan, made it very easy to take them out!
Post a Comment